


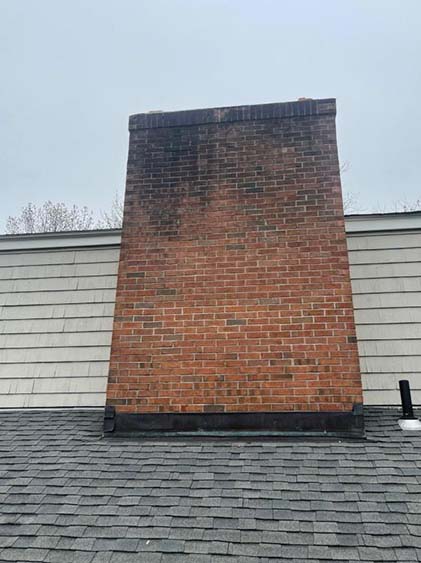
When a homeowner in Avon called us, the main concern was water. They were seeing leaking through the brick during rainstorms, a ceiling spot near the chimney, and the leak was getting worse during heavy rain.
That is usually a sign that the chimney has been taking on water for a while — not just one bad storm.
After inspecting the chimney, we found damage consistent with years of water entry, saturation, and freeze/thaw deterioration. In Connecticut, that freeze/thaw cycle is tough on masonry. Water gets into open mortar joints or cracked brick, freezes, expands, and slowly starts breaking the chimney apart.
What We Found
The upper portion of the chimney had visible signs of deterioration, including:
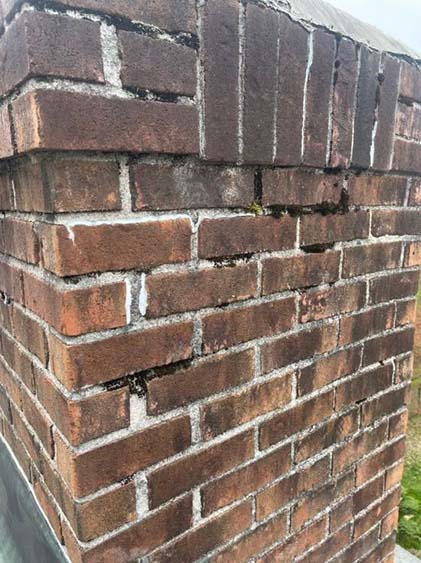
- Cracked and broken bricks
- Missing and deteriorated mortar joints
- Water staining
- Moss and moisture damage
- Spalling brick faces
- Failed or questionable flashing areas
- Missing rain caps
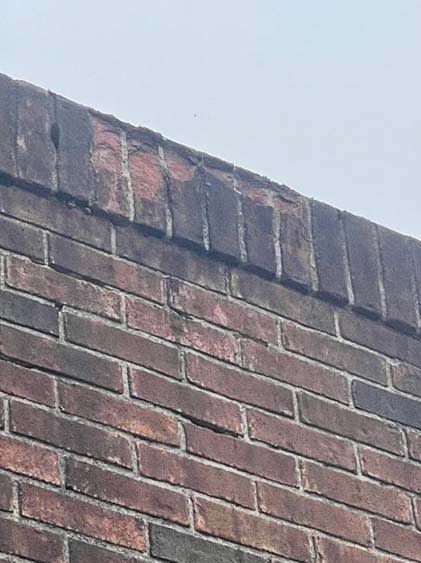
Once a chimney reaches this point, patching the outside is usually not enough. The damage is already inside the masonry system. That is why this chimney needed to be removed down to the roofline and rebuilt properly. The estimate called for dismantling the chimney exterior to the roofline, rebuilding it with new brick and mortar, installing new terra cotta flue sections from the roof up, adding a new cement crown, replacing flashing, and installing stainless steel caps.
Why Flashing Matters So Much
A lot of chimney leaks are blamed on “the chimney,” but very often the issue is where the chimney meets the roof.
For this project, we replaced the flashing at both rooflines. That included step flashing and lead counter flashing.
We use lead flashing because it lasts, shapes properly into the masonry, and gives a better long-term seal than cheaper materials like tin, aluminum, or galvanized steel. The counter flashing is tucked into the mortar joints, not just nailed to the side of the chimney and covered with caulk.
Caulk is not a chimney flashing system. It might buy time, but it should not be the main thing keeping water out of a home.
The Rebuild
Our crew set up roof protection, ladders, and scaffold as needed to safely access the chimney. The damaged chimney was taken down to the roofline and rebuilt with new brick and mortar.
During the rebuild, we also opened the roof area around the chimney so the flashing could be replaced correctly. Once the new flashing was installed, the shingles were relaid around the chimney.
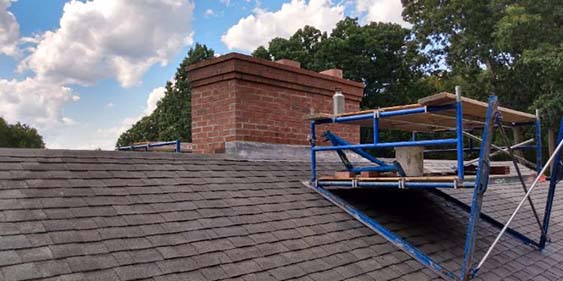
The chimney also received a new cement crown and new stainless steel single-flue caps. Those caps help keep rain, snow, leaves, and animals out of the flues.
The Finished Result
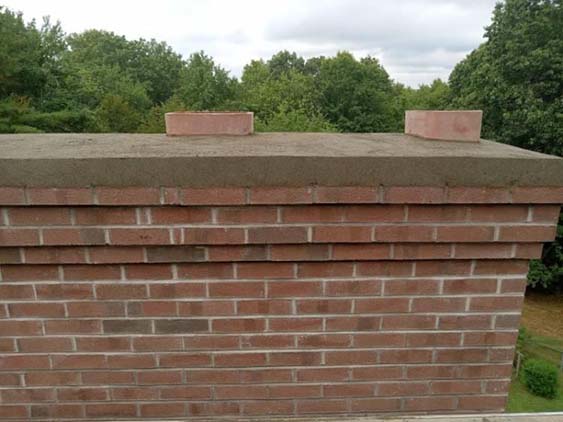
The finished chimney looks clean, straight, and solid — but more importantly, it was rebuilt to solve the water problem, not just cover it up.
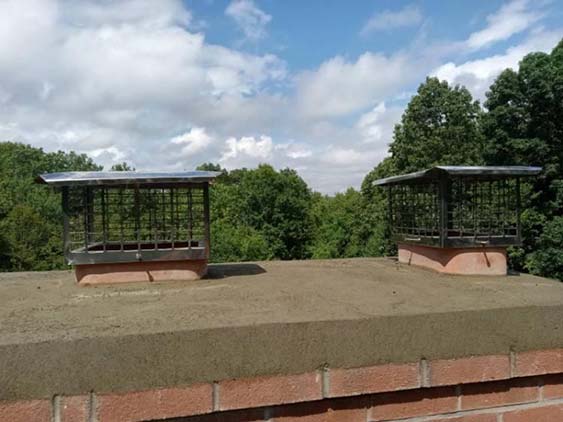
A chimney rebuild like this is not just cosmetic. It protects the roof, attic, ceilings, masonry, and flue system from continued water damage.
Seeing Water Near Your Chimney?
If you notice water stains on the ceiling near your chimney, leaking brick, moss growth, missing mortar, cracked brick, or water dripping into the fireplace, it is worth having the chimney inspected before the damage spreads.
Small leaks can turn into major masonry repairs when they are ignored for too long.
Safeside Chimney provides chimney inspections, chimney leak repairs, flashing replacement, chimney caps, and full chimney rebuilds throughout Avon and across Connecticut.